I need no help getting into the festive mood. I’ve been planning and waiting for Christmas since mid-October when the evenings started to get darker and there was that first chill in the air. But I know not everyone has a two and a half month build-up period, and I know that not everyone is so Cindy Lou when the fairy lights start going up. So, these are my top Christmas spirit building tips to get you or your more Grinch feeling friends in the mood for sleigh bells and the pitter patter of reindeer feet on the roof.

WATCH A FESTIVE FILM

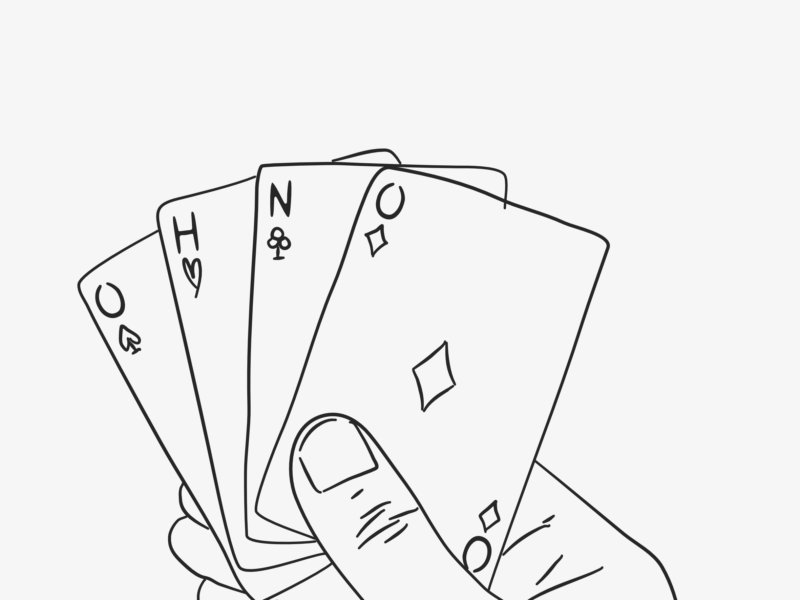
This is probably the most basic answer of all but by Jove does it work. Christmas movies are the best. I have far too many favourites to list here but as you’ve seen this post’s cover image you’ll know that White Christmas is up there, with Miracle on 34th Street vying for the top spot in my heart. There will be some you’ve seen so many times that you can have them on in the background and still know exactly what’s going on – I promise you know more words than you think you do! If you’re not feeling festive at all, start with the slightly less Christmassy Christmas movies like the first Die Hard or Harry Potter (why are those movies always on at this time of year? then work your way up.

PUT ON A CHRISTMAS PLAYLIST

There’s no denying there are some Christmas bangers, well maybes not bangers, jinglers might be more accurate. What I’m trying to say is that there are so many classic Christmas tunes that you’d be hard pushed not to find at least one that gets you in the mood. Last year I put together a list of my favourite Christmas albums, so if you’re not sure where to start head back to my 2016 list. Or, just hit play on one of Spotify’s many festive playlists, which is pretty much all of the music I’m going to have on til the end of the year.

BAKE SOME OF THESE GOODIES

Nothing yells Christmas than something sweet, and baked, and full of cinnamon. Baking always makes me feel like I’m a child again, especially when licking the spoon. So, I’d highly recommend donning your apron and heading to the kitchen to get into that elf mindset.

If you’re not a baker but still want the effect, I’m a big fan of Sainsbury’s Lebkuchen Stars and putting on a festive smelling candle like this spiced wonder to give the effect of baking without getting your hands sticky.

TAKE YOURSELF OUT ON A WINTERY WALK

For me, there is nothing better than going on a walk when it’s all crisp and cold outside. There’s just something so refreshing and calming about it, and taking that bit of time for yourself as an indulgence is a lovely way to get you ready to spend a few weeks reveling. I recently put together a post on a few of my favourite London walks. But if you’re looking for something to really get you in the Christmas spirit, why not try and head towards the nearest set of festive lights. That doesn’t mean you have to hit the high street (I know that personally I wouldn’t find that all too calming), instead, wait until it’s a bit darker then walk around the houses, there’s always someone who’s taken their decorations seriously. Plus, it’s a lovely chance to get a little bit nosey!

DECORATE (YOURSELF, YOUR HOME, YOUR OFFICE, YOUR DOG, YOUR STREET)!

Your surroundings can make such a big difference to your mood. So why not make your space or at least a little bit of it more festive? If you’re not feeling like going all out, adding some fairy lights or even just displaying and cards you’ve received nicely can hugely change up a room. I’ve also got a post coming up with some top tips for decorating a small or rented space, or at least how I’m planning on decorating mine if you need some inspiration.

One of the goals I set myself for the next year (of my life, rather than calendar) was to learn some new skills. There are a whole range of things I want to learn about from calligraphy to how to create animations digitally, but I’ve started with taking some time working on my design thinking skills. Along with a lovely group of colleagues I started Ideo’s human-centred design course.

The course is an introduction to design thinking essentially. It covers everything the theory of design thinking as well as leading you through a test project where you get to gain some hands-on experience of every stage of the design process from research to concepts to prototyping and actually making the thing. IDEO, a global design company who create positive impact through design, lead you through each step and give you tips and advice from their years of experience. It’s a completely free online course, that runs quite a few times throughout the year, so if you find anything in this post interesting at all I’d recommend it. It’s intended to be done as a group, so you might need to round up some friends too.

But what is human-centred design? According to Ideo it is a “process that starts with the people you’re designing for and ends with new solutions that are tailor-made to suit their needs. Human-centred design is all about building a deep empathy with the people you’re designing for; generating tons of ideas; building a bunch of prototypes; sharing what you’ve made with the people you’re designing for; and eventually putting your innovative new solution out into the world”. I’ve done a whole post on design thinking more generally that goes into a bit more depth, but in a nutshell, that’s the crux of what you need to know.

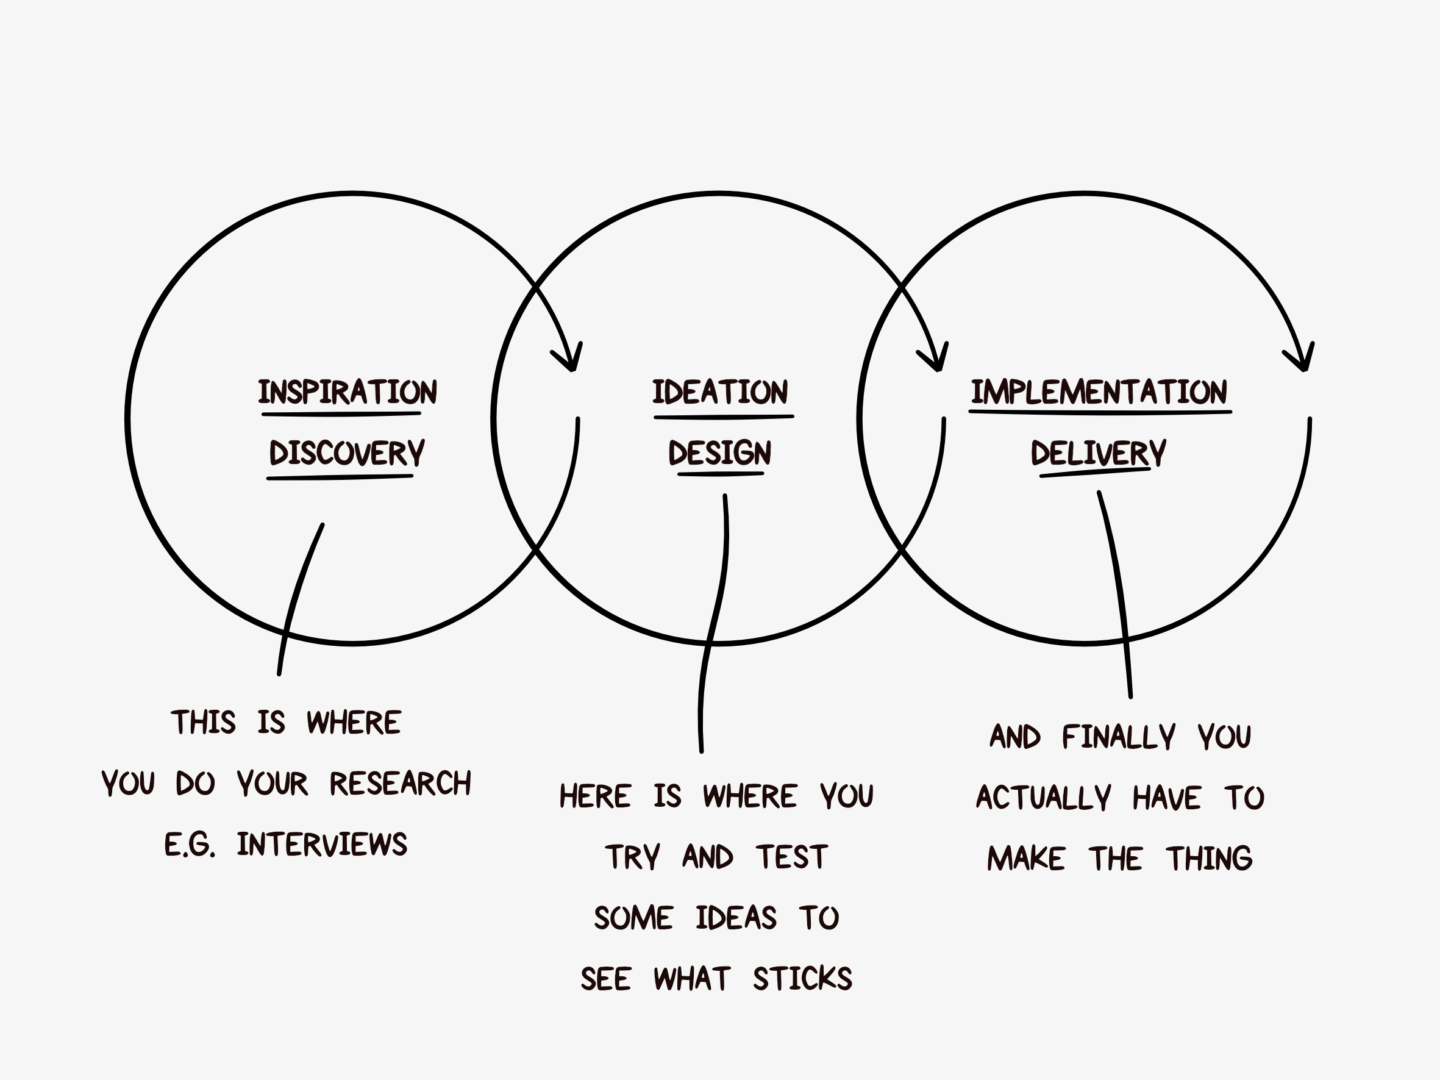
The human-centred design process follows 3 stages, that Ideo call inspiration, ideation and implementation. Where I work we call them discovery, design and delivery, but they cover the same ideas, as explained in the diagram below.

The first stage in making people the centre of your design universe is to engage with them. This user research phase is the part of the process I’ve had the most experience with at work, so I thought I’d walk you through it a little bit and give you some ideas for how you can apply the techniques to your own life, even if you’re not running a big design project.

User research can come in many forms with the most basic you might think of being desk research and interviews. But there are so many other ways to find out how people really behave. Observing how people go about their day to day lives can give you real insight into their unfiltered actions. You can also create diaries and have people share their thoughts and feelings, or work with your users to build something really hands on to see how they think. As well as researching the direct users of whatever you’re working it can also be fruitful to look for people doing whatever you’re looking to change well already in different sectors – find a group shows great team work, or an education process that’s really effective, or a product that service that caters really well to people with a specific need.

Human-centred design can be used to help you create products, services, spaces and systems. Those four areas cover a whole range of things that are super interesting, even if you’re not doing this for work. Here are just three:

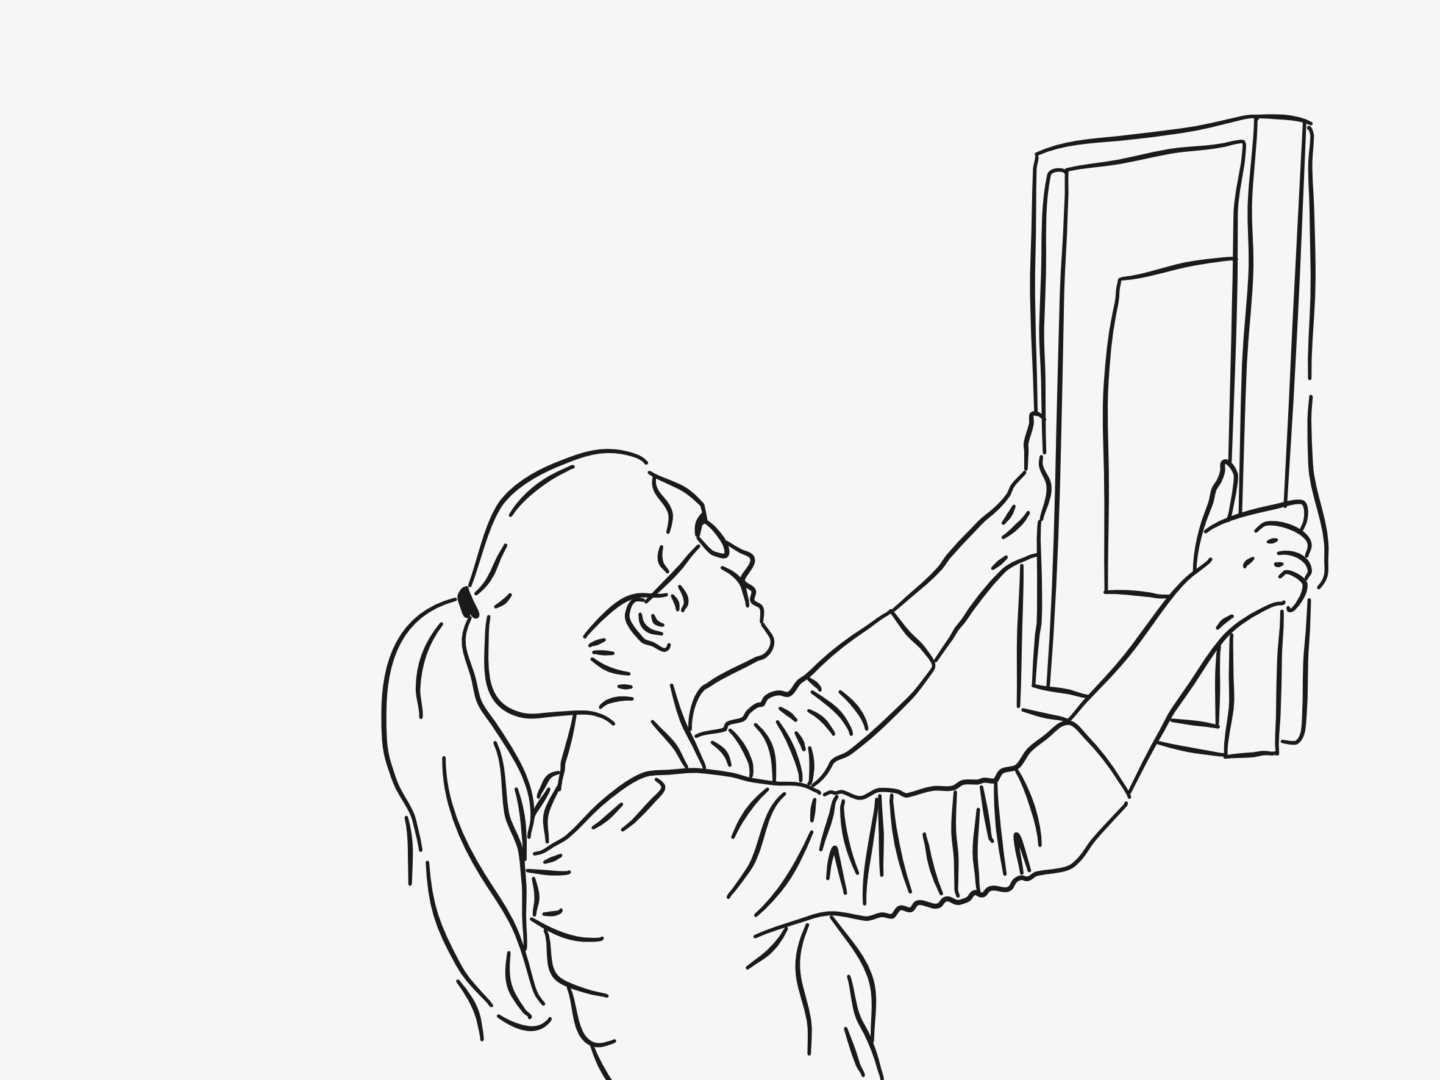
  1. Could you use human-centred design to make your home work better? If you kept a log or a map of how you/your family use your space, you might find out that some areas are working better than others, and that there are some pain points that might be easily fixed. I’ve done this in my room in my bit of kitchen space, and little things like rearranging my cupboard so the things I use the most are easiest to reach has made such a difference.
  2. Could you use these methods to improve your commute? One of the first tasks in the course is to research your team’s commutes and work out how they could be improved. This is something anyone could do, either on your own by mapping out your journey or by getting someone else’s perspective by having a friend interview and vice versa.
  3. Could you improve how you, and your team work by researching the way that people actually handle their day to day tasks? Is there a better way to fulfil their needs so that everyone is at their best?

I’m planning on turning this into a bit of a running series/theme, so I might go into a bit more depth on how to get useful information out of people interviews, as well as some thoughts on the other stages of the design process. Let me know if there’s anything else you’d like to read about though!

In my review of my first year of blogging I touched on the fact that a lot of opportunities I thought I had haven’t quite worked out. I think I was hit a lot harder by them at the start of the year, and when things didn’t work out before I even started blogging. But now I’ve had so much practice (bad things count as practice too) I’m so much better at dealing with lost opportunities now, so I thought I’d share some of the tips I’ve had to work out for myself to help anyone in the dame place out.

If it was an offer…

Take confidence from being noticed

If someone has reached out and offered you an opportunity no matter what it is you should take some confidence out of the fact that you were noticed and someone wanted to work with you etc. Take it as a professional compliment, and use that to give you the confidence that if one person is out there noticing you’re doing good work there are probably 10 others doing the same too. That means other opportunities might be just round the corner.

Make it happen some other way

When someone offers you the chance to do something it can make you realise quite how much you want to do it. That means it can be particularly heartbreaking if it doesn’t work out. But if you feel like it was something you really truly wanted to do, use that heartbreak to push you forward and make it happen for yourself. If it was a style of work you wanted to try, do it yourself. If it was a brand collaboration, reach out to someone else. If it was a big project, find some other way to do it or get it funded. Just because someone else pulls out doesn’t mean that you have to.

Remember you haven’t lost anything

Despite what I said above, remember if you’ve been offered something and then that offer mistaken off the table you haven’t actually lost anything apart from an idea or some invested feelings. This is something I’m trying to work on from the start of this kind of process – it’s not real until it’s done.

If it was something you worked on…

Take pride in what you’ve made

If you’ve made something, whatever happens with it you should be so proud! If you’ve made something you really like, that’s even truer. Even if you’re sad, take a moment to appreciate the work. If you can share it with friends and family, or even your social pipes, as a piece of work that you’re pleased with if nothing else.

See if you can reuse it

While bespoke projects are one-offs and can’t be reused in their entirety, you can always cannibalise a piece or a process to turn it into something new so that effort isn’t lost. That could mean breaking down design elements, reusing research work you did to write your own blog post about a subject, or even using it as a case study of work you can do to sell your services. Everything can be upcycled.

Acknowledge your growth

This one links into “take pride in what you’ve made”. If you’ve made something, you’ve also grown in order to make it. You’ve either learned something new or practiced and refined a skill you already had. You are better for the process even if it was disappointing. Whatever happens you’re stronger for having done the work than not.

Autumn for me is a season for walking, for being surrounded by golden trees and golden retrievers, and I absolutely adore it. There’s just something magical about the crisp air and the quality of light in autumn that just makes me want to bundle up and take a constitutional like I’m out of a Jane Austen novel. It’s something I started doing in Oxford, and have happily continued in London where I’ve discovered and been shown some of the loveliest walks that you wouldn’t have thought are right in the middle of the city.

HAMPSTEAD HEATH PARK

Hampstead Heath is massive. It’s 320 hectares to be specific. That means that you can walk and walk and walk and always see something new. It has some top class dogs and views when you get up high enough  (the views not the dogs, the dogs are everywhere). While I just like to wander, if you want some extra activities out of your walk Hampstead Heath has loads of facilities including things for children, cafes, and a Lido (one to bare in mind for summer).

ST JAMES’ PARK

Whenever I’m in the right office I like to take a walk through St. James’ Park. It’s just so stunning. Despite being surrounded by some of London’s biggest landmarks, Buckingham Palace, Horse Guards Parade, Birdcage Walk and the Mall, it never really feels like a tourist trap and I never get tired of walking around it. For me, St James’ Park captures the London magic that I rarely feel otherwise and that draws so many people to the city, so if you’re after something a bit enchanting take the time out of your day (especially if it’s a work day in the city) for a stroll.

HARINGEY PARKLAND WALK

This walk is a local favourite of mine. The path takes you from Finsbury Park to Alexandra Palace in two steps along an old railway line. It’s almost all surrounded by trees apart from a few viewing spots so you really feel like you’re in the woods out on a stroll, which is why I love it. With some crisp autumn leaves underfoot it’s pretty much perfect. It’s worth taking a bit of a detour through Highbury Woods between the two sections of the path. It’s one of my favourite parks, in part because it’s great for dog spotting, in part because it has toilets and in part because it’s just damn pretty.

THAMES PATH

The Thames Path as you may have guessed runs all the way along the Thames, which means that you can pick it up wherever is most convenient/most scenic and follow it for as long as you want. It’s a London classic and one you can never get bored of because of how flexible it is, and because the Thames has so much to offer, as well as being a big old river.

RICHMOND TO TWICKENHAM

Okay so this one is a little ways outside of London, but you can get a quick little train to Richmond for a fiver so I’ve decided it counts. I took this walk very early in my London life and I still remember it fondly. You really feel like you’re out of the city (because you are). The path is littered with lovely pubs and gorgeous houses, so there’s plenty to see and plenty of places to stop of for a rest. For me this one feels the most Jane Austen (although a lot of the old looking buildings are relatively new) of our five so if that’s what you’re looking for it’s worth the trip out.

This is the third and final installment of my mini-series about my room (read parts one and two). I’m closing the series, for now at least, with a bit of an insight into how I used design thinking to shape my room and make the most of the space, as well as some top rental room renovation tips.

First off, I thought it would be worth doing a quick recap of what design thinking is, in case you haven’t come across it before. Design thinking is all about taking a user-centric approach to a problem and then solving it in a hands-on iterative way. You focus on the real user to build something they actually need, rather than what you think they need. Taking this insight and working with it iteratively, prototyping and testing means you fail small and often as part of a process rather than dedicating a huge amount of time and resources to a project that might have an underlying flaw you hadn’t noticed. This process can take slightly longer at first, but it becomes more time and energy efficient overall because you work out more of the kinks at the start. If you’d like to know more about design thinking, check out the full post I wrote about it. 

So how do you apply that relatively abstract concept to designing your space?

  1. Work out how you use a space – live in the space for a while. Where do you spend the most time? Is there anything you can’t do that you want to? Is there anything you don’t need?
  2. Start with the bare minimum and find out what you need as you want to reach for things – can you hack a solution to see if it will fulfill your needs, can you prototype the solution you want to see if it works?
  3. Test before you buy – measure your space and get a feel for what will fit, and try things in store – especially if you’re buying furniture.
  4. Research the most user-friendly option – write up a list of requirements and shop according to those rather than blankly looking for a chair within a certain budget – what is that chair for? What do you want it to do? Where do you want it to fit?
  5. Consider the future life of your space – what you need your space to do will evolve with you, make sure you consider your future needs/changes when your designing. Where possible make life easier for future you.

In practice, what this meant for me was living in my space for a while before I started really getting into designing it and buying any new pieces. There are some things in my room that are completely fixed, my bed can’t go anywhere, the shower and sink and plumbed in, I’m not sure I could fit my desk in another space even if I tried.

But when I moved in there was a second desk in what is my living area, there were no drawers in the wardrobe, there was no extra shelving, there were no towel hooks and there certainly wasn’t an armchair. For the first few weeks, I worked out what I needed and what I didn’t, and started by priority. I needed somewhere to store my socks stat. The second desk just got in my way and I never touched it because I preferred the natural light in my office. I wanted some more shelves to store bits that I reached for a lot whether that was paper or face wash.

Illustrated Room Tour

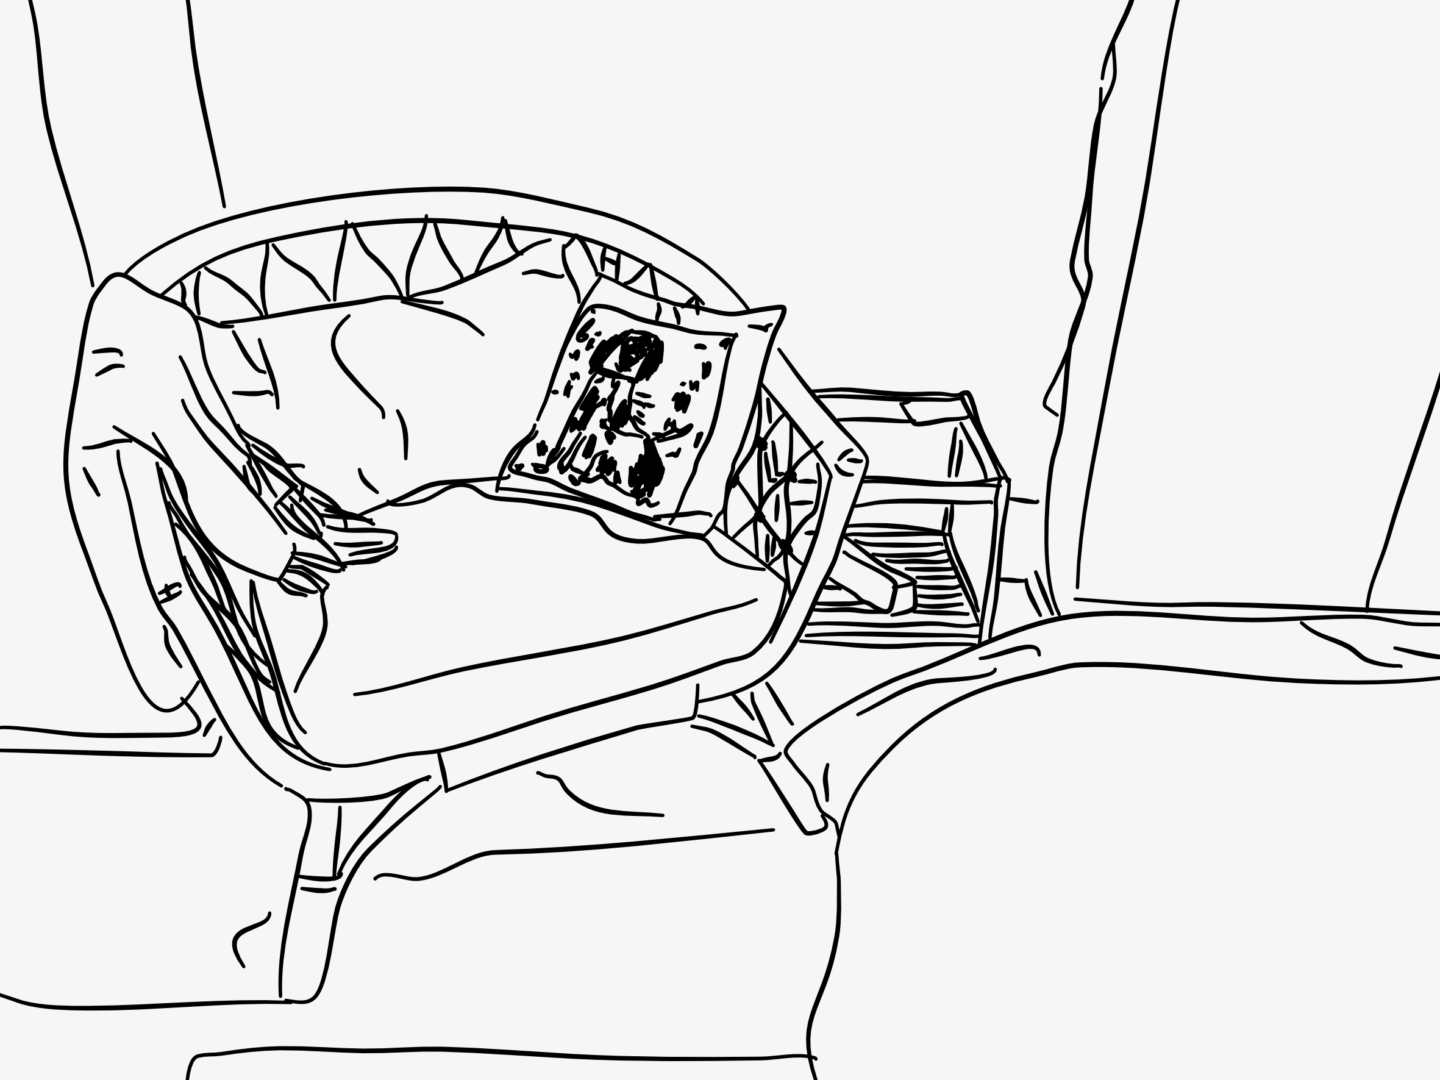
The big space design project I’ve been working on is the seating/living area. I started with a minimum viable product (MVP) solution which was a floor cushion. It gave me somewhere to sit and was easy to put away to give me extra space. But after a while, I found it wasn’t comfortable enough, and I didn’t get any joy out of sitting on the floor – I wanted to feel like a grown-up. I trialed using my desk chair but it became a pain point for me to move the chair and not to have the separation of work and rest. So, I knew I had to find another solution. I wrote a list of user (my) requirements that included: something big enough that I could tuck my feet up, something light that was easily moveable for when I leave, something that was neutral and not too bulky to fit with my space. I also knew I would need a side table for tea and books because I would always have them with me when I sat down on the floor. Then I did my research and found a chair and table I thought would work. Then I marked out the space it would fit in with washi tape and attempted to move around it for a week to check it wouldn’t hamper my routine. Only then did I buy my new chair, and you know what it’s absolutely perfect for what I needed (and within budget).

And finally…here are just a few extra rental room renovation top tips:

  1. Find out what you’re allowed to change – check your contract before you do anything substantial
  2. Command hooks and washi tape are your best friends
  3. There’s a lot you can do with soft furnishings – rugs make rooms more homely. Changing your bedding can change a room try something more neutral if a space is too loud or small, or picking a statement colour if the space needs a little life. New curtains (as long as you hold onto the old ones) can be used to let more light in and can almost be as good as repainting
  4. Measure your doors before you buy any furniture – this is just a general life thing
  5. Use lighting to transform a small space for different occasions – I have a working light, a daytime light, and a set of evening time lights (aka fairy lights) which help me differentiate the space for different uses without having to really change anything

How have you made your room your own? Would you like more mini-series like this?