Earlier in blogmas I shared some top tips for staying productive during the festive period. Today I want to talk about 4 of the best things you can do to set yourself up for the new year in these last few weeks because the plan I have right now is pretty simple.

Clear

I know that having a clear out is usually associated with spring, but making space and clearing the clutter can be a great way to set yourself up for the new year, especially if you’ve received any replacements of things for Christmas. If you need some guidance, earlier this year I wrote up my complete guide to doing a spring clean that’s just as relevant now.

Plan

Set your goals for the new year ahead. These could come in the form of new year’s resolutions or they might just be things you want to achieve in work or your personal life. Last year I put mine up on an A3 poster on my wall, and I think I’ll be doing something similar again this year. I’m also going to review the goals I set in September and check they’re still true to what I want. Give yourself some focus for the next 12 months, it’s hard to achieve something if you don’t know what it is. If you can’t think of a big year-long goal, start with something you want to do in the first 6, 3 or 2 months of the year and use that to drive yourself forward.

Prep

Once you’ve set those goals, set yourself up to achieve them. If you want to eat healthier, make sure your cupboards are properly stocked. If you want to try a new class, book it now. If you want to reach a work goal, come up with a strategy to get there. This is a great activity to check that the goals you’ve set are actually doable as well. Give yourself a fighting chance to get where you want to be.

Rest

Finally, take the end of the year as a time to rest and recharge. You’ve achieved a whole lot this year, I don’t know you but I know you have. Just surviving a year on the planet is a big achievement. So, take a moment to reflect on all you’ve done and then take some well-deserved time off so you can come back and do even better (not necessarily more, something I’m learning) next year. There are so many excuses to put your feet up and just enjoy yourself at this time of year it’s hard not to.


Mulled wine is one of my favourite festive treats. I’m not generally a big drinker but there is something a little bit magical about a warm mug, glass, or tankard of steaming mulled wine. Not only is it delicious, it’s also the ideal way to warm your cockles in after being out in the cold. Plus, there’s the added benefit of it filling your home with the scent of all of those classic Christmas spices if you make it yourself. 

So, for today’s post I thought I’d share the recipe I’ve been using (quite a lot) and loving this Christmas.

  • 2 oranges, sliced into rounds or half moons
  • 1 vanilla pod, split lengthways
  • 4 cloves and 4 allspice berries (or 6 cloves)
  • 2 cinnamon sticks
  • 2 star anise
  • 150g caster sugar
  • Bottle of red wine
  • 100ml brandy (optional)

Mix it all in a large pan and then heat over a low heat for at least 20 minutes.

If you’re looking for something equally festive to go with your mulled wine, last year I shared my lebkuchen (German spiced cake/biscuits) which are my favourite accompaniment to pretty much everything at this time of year.


Throughout the year I’ve been sharing an outfit illustration every Saturday over on my Instagram in an attempt to feel like I could have been a style blogger (or even have style) in an alternative life. They’ve been some of my favourite illustrations to do, and by the looks of my engagement they’ve been some of your favourites too. Plus, I’m a definite cold weather baby, and I love getting to wear all of the knitwear and as many layers as possible. Right now is about as confident as I’m going to feel in my fashion. So, I wanted to do a whole post dedicated to them and some of my favourite winter outfits.


My uniform when the weather turns is jeans and jumpers, more specifically at the minute straight leg jeans, high neck (vintage cashmere) jumpers, and a pair of sensible boots. It’s warm and practical and that’s pretty much all I’m looking for in an outfit. In fact, it’s a look I love so much that I’ve engineered another trip to Edinburgh purely so I can pick up a few more knits.

I’ve had this camel coat since I was 19 and it’s probably the most grown up item I own. It really pulls together an outfit, and has remained timeless. I always feel really chic when I put it on, no matter what I’ve thrown it on top of, and I mean no matter what because I will put it on with jogger bottoms and trainers.


My other coat is an all-black number from COS. It’s a bit more practical than my camel coat because it zips up, so it’s the one I turn to when it’s really nippy outside and I need to wrap up in my scarf and hat as well. I only started wearing a woolly hat last year, in part because I used to think they looked silly and in part because I used to be a hardened northerner and now London has turned me soft. In a nod to that past I still never roll down the sleeves on my coat – I have a weird thing about not liking my forearms to be covered so I’m a sleeves rolled up at all times kind of girl.


I couldn’t do a winter favourites without mentioning my Christmas jumper. I picked this one up last year from Warehouse and I still love it. It’s just fun enough (100% the most multi-coloured item I own, not that you can tell here – there’s a colourful version on my insta) to work for novelty jumper day at work, but still wearable enough that I can pop it on to go to the shops in. It makes me feel like a Christmas tree a little bit with all of the bobbles.


But ultimately my favourite winter outfit is my pyjamas. It’s my favourite outfit year-round, but especially when it’s cold out and I can add some fluffy socks and a big jumper, and maybes a blanket on top too.


If you’d like to see some more of my style based illustrations, head on over to my portfolio where you can see some of my favourites as well as a couple of cool commissions I’ve done over the past few months.


We all know that Christmas is a great time to get together with friends and family, to enjoy the festivities. But just because Christmas is happening doesn’t mean that you don’t have work to do anymore. For a lot of us, December is actually one of the busiest months of the year so balancing what you have to get done and making sure you pack in enough festivities to tide you over til next year can be a challenge. Here are my tips for making it to the end of the tight rope walk that is December successfully.


LEAVE SPACE TO RECHARGE

I’m putting this right up at the top so you don’t forget it. You need time to rest. That means time not doing exciting Christmas things, time not working. You need time purely to rest. That could be taking an hour for yourself every day, or blocking out a full day to work from home and just recharge. If you don’t take just a little bit of a break you’ll end up struggling through the last few weeks of the year, not enjoying the celebrations and not working at your best, and who would want that?


BLOCK OUT TIME IN YOUR CALENDAR

I have spoken at length in a number of productivity based posts about the importance of time-blocking, but it is never more relevant than when you’re busy and juggling lots of priorities. Work doesn’t get done unless you give yourself the time to do it, especially if there’s the temptation of mulled wine right around every corner.


BE SENSIBLE WITH YOUR GOALS

Don’t set yourself an impossible task (this is always good advice FYI). I think you have to be understanding with yourself that you might have a little less time to do things than you might normally, and that will mean that you get less done, and that is okay. Taking the time to enjoy yourself is so important. So set yourself a sensible, achievable goal and don’t beat yourself up if you don’t quite meet it because Rudolph and his friends stopped by.


MAKE YOUR WORKSPACE A LITTLE BIT FESTIVE

There’s nothing worse than feeling like you’re cooped up away from the fun. Work, even if it’s tough, shouldn’t feel like a chore. That doesn’t make you inclined to do it, or to do it well. What works for me is to spruce up my space a little bit so that I can still feel like I’m in the Christmas spirit even if I’m churning out blog posts. I also like to reward myself with festive treats as I go – hello 3 empty packets of lebkuchen!


BE HONEST WITH YOUR FRIENDS

If you’ve got lots to do, don’t be afraid to tell people. Rather than making excuses, or anxious because you feel like you need to go out and work, just explain your situation. I promise you’ll find people are way more understanding than you might think.


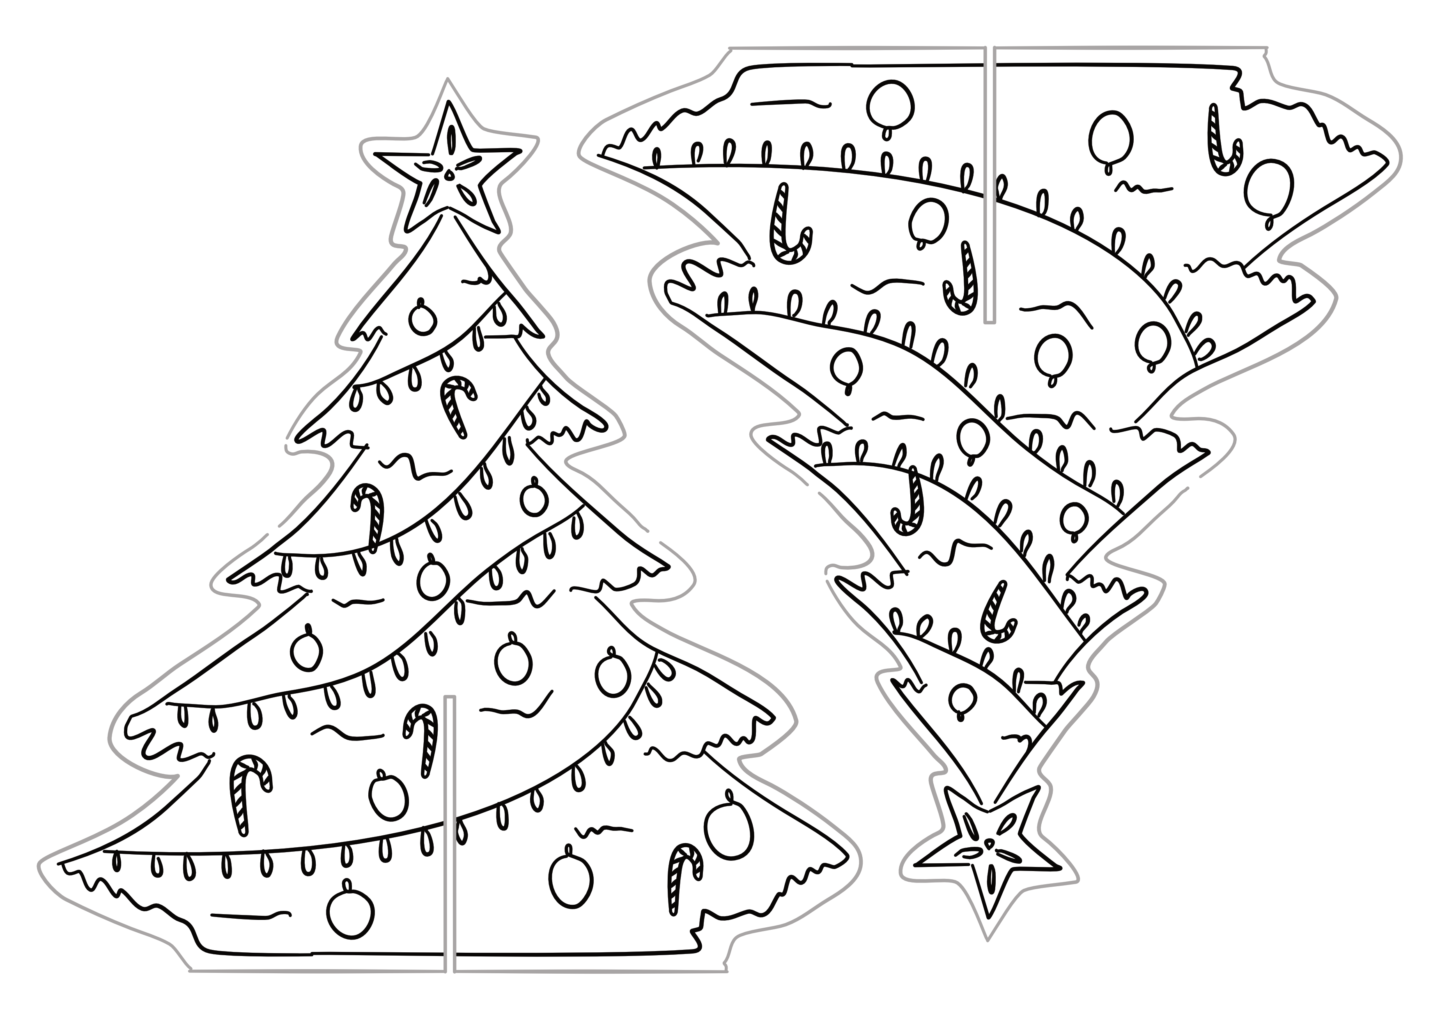
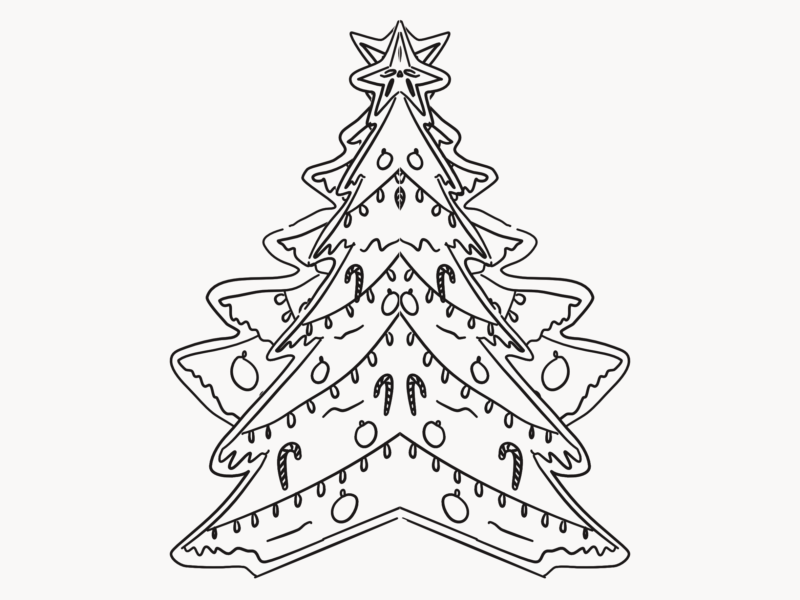
As a part of last year’s blogmas I made a couple of printables, and I wanted to do the same this year with something new and improved. I had a think about what I would want to print and make, and there was one idea that stuck out a mini- tree! I wanted something I could have to spruce up my desk at work, that I could easily move around, because I’m in a hot-desking office – so I needed to create something foldable, robust, and good enough that I wouldn’t be embarrassed to have it sat out for everyone to see.

So, that’s what I’m sharing with you here, a printable tree that’s easy to construct, simple enough for grown-ups and children alike, and is perfect to sit on your desk or mantelpiece. It’s made of just three pieces so you can quickly take it up and down. 

The tree is blank for you to colour in however you like, in case you want to create your own design or just need an excuse to sit and colour in – at this time of year I know I’m always game for a bit of quiet me time. I’ve added a little bit of extra gold sparkle on my version, because that seems to be a recurring theme in my festive designs this year.

So, how can you put together your own baby paper tree?

  1. Print out the 2 copies of the pdf, it works best on card if you have some
  2. Colour all 4 trees in
  3. Cut out the shapes along the grey lines this is probably easier with a craft knife but scissors work too
  4. Glue the two trees from each page together back to back, so you have a double sided tree
  5. Slot the tree shapes together
  6. Display your tree wherever you like and wait for the compliments to roll in

Download and print your tree!

PART 1 / PART 2

If you make one of these, please do let me know by leaving a comment, or, even better, sharing a picture with me on Instagram or Twitter because I’d love to see them in the wild!